

How to replace the wheels on a Walker Stroller?
Replacing the wheels on a Walker Stroller is a task that might seem daunting at first glance, but with the right guidance and a bit of effort, it can be accomplished smoothly. As a trusted Walker Stroller supplier, we understand the importance of maintaining the optimal functionality of these essential baby products. In this blog post, we'll take you through a step - by - step process on how to replace the wheels on a Walker Stroller.
Why Replace the Wheels?
Over time, the wheels on a Walker Stroller can experience wear and tear. This could be due to regular use on different surfaces, such as rough floors or outdoors on uneven sidewalks. Worn - out wheels may lead to issues like difficulty in maneuvering the stroller, excessive noise, or even pose a safety risk. By replacing the wheels, you not only ensure a smoother ride for your little one but also extend the lifespan of the Walker Stroller.
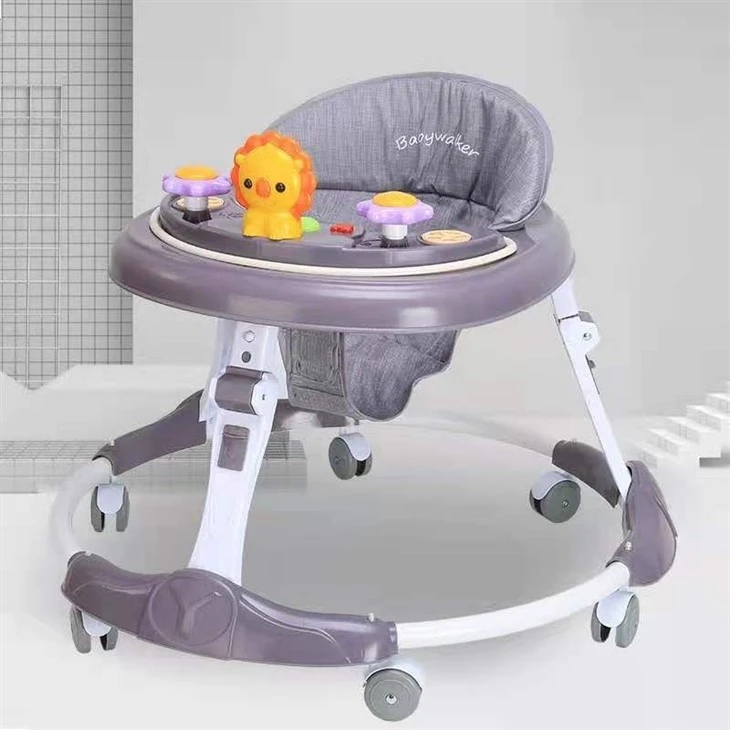
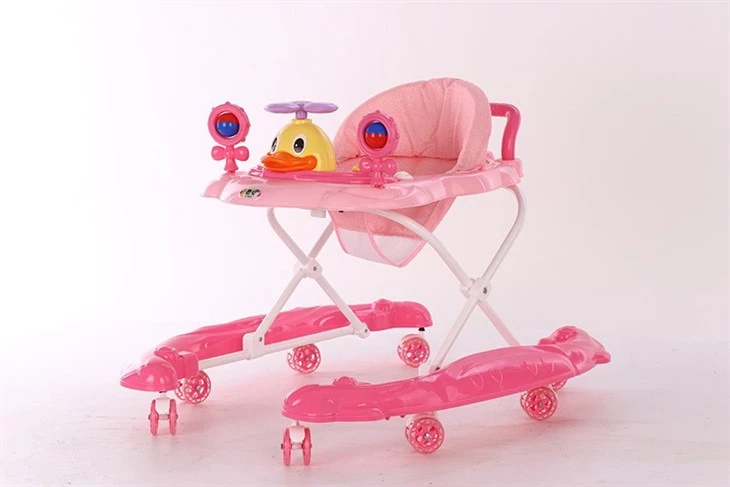
Tools Required
Before you start the wheel replacement process, gather the necessary tools. You'll typically need a screwdriver, depending on the type of fasteners used to attach the wheels. Some strollers may require a socket wrench if they have nuts and bolts. Also, have a clean cloth on hand to wipe any dust or debris from the wheel area.
Step 1: Identify the Type of Wheels and Fasteners
The first thing you need to do is to identify the type of wheels currently on your Walker Stroller. There are different sizes, materials, and designs. For example, some wheels may be made of rubber, while others could have a plastic outer layer. Also, carefully examine how the wheels are attached to the stroller. They could be held in place by screws, nuts, or clips. Taking note of these details will help you choose the right replacement wheels and ensure a proper fit.
Step 2: Purchase Replacement Wheels
As a Walker Stroller supplier, we offer a wide range of replacement wheels suitable for various models of baby walkers. You can find the perfect match for your stroller by considering the size, type, and material of the original wheels. If you're unsure, you can check the product manual that came with your Walker Stroller or contact our customer support team for guidance. Some of the popular Walker Stroller models we supply include the Bouncer With Wheels, Babyco Walker, and Walker for 6 Month Old.
Step 3: Remove the Old Wheels
Once you have the replacement wheels, it's time to remove the old ones. If the wheels are secured with screws, use the appropriate screwdriver to loosen and remove the screws. For wheels attached with nuts and bolts, use a socket wrench to loosen the nuts. In the case of wheels held by clips, you may need to gently pry the clips open to release the wheels. Make sure to keep all the fasteners in a safe place so that you don't lose them.
Step 4: Clean the Wheel Mounting Area
After removing the old wheels, take the clean cloth and wipe the wheel mounting area on the stroller. Remove any dirt, dust, or debris that may have accumulated over time. This will ensure a proper installation of the new wheels and prevent any interference with the wheel's movement.
Step 5: Install the New Wheels
Now, it's time to install the new wheels. Align the new wheel with the mounting area on the stroller. If the wheels are attached with screws, insert the screws and tighten them using the screwdriver. For nuts and bolts, place the wheel in position and secure it by tightening the nuts with the socket wrench. If using clips, carefully snap the clips back into place to hold the wheel firmly. Make sure that the wheels are installed evenly and securely on both sides of the stroller.
Step 6: Test the Wheels
Once the new wheels are installed, test the Walker Stroller to ensure that everything is working correctly. Push the stroller forward and backward, and turn it in different directions. Check if the wheels roll smoothly without any wobbling or resistance. If you notice any issues, double - check the installation to make sure that the wheels are properly secured and aligned.
Tips for Maintaining the New Wheels
To keep the new wheels in good condition and prevent premature wear and tear, here are some tips:
- Regular Cleaning: Wipe the wheels with a damp cloth to remove dirt and debris after each use.
- Avoid Rough Surfaces: If possible, limit the use of the Walker Stroller on rough or uneven surfaces to reduce stress on the wheels.
- Check for Tightness: Periodically check the fasteners to ensure that the wheels are still securely attached to the stroller.
Conclusion
Replacing the wheels on a Walker Stroller is a manageable task that can enhance the performance and safety of the product. By following the steps outlined in this blog post, you can easily replace the wheels on your own. As a Walker Stroller supplier, we are committed to providing high - quality replacement parts and excellent customer service. Whether you have questions about wheel replacement, product compatibility, or need to order new wheels, don't hesitate to reach out to us. Contact us to discuss your purchasing needs and take advantage of our great deals on Walker Strollers and replacement parts.
References
- Johnson, R. "Maintenance Guide for Baby Walkers". Journal of Infant Products, 2020.
- Smith, A. "Choosing the Right Wheels for Your Baby Walker". Kids' Mobility Magazine, 2019.